Showing posts with label tutorials. Show all posts

Monday, June 7, 2010

Improved star cane

So I was just sitting down trying to figure out how to make them neater when I remembered I had a small star cookie cutter. I was going to use it to make an impression on the end of the block of clay to use as a cutting guide when I remembered seeing somewhere someone making a cane from cookie cutters (sorry can't remember who or where or when - I do remember it was elephants and it was a neat idea).

Here's what I did. The sheet was about 1cm thick, could of made it thicker but it reduced OK


I am pleased with the end result. I wish I had some more interesting small cutters, I have some great ones but they are too big it would be very difficult reducing a disc 15cm wide but only 1 cm deep I imagine.

Monday, May 24, 2010

Tutorial links

There are hundreds of polymer clay tutorials out there on the internet, some you pay for ( in my experience these are excellent, the authors have put in much more time and they are very detailed) and many are free. There are lots of creative and generous artists out there! Some people have kindly collected the tutorials together onto pages of links and I would like to share a couple of these with you now so perhaps you can find  a new tutorial to play with.

http://www.everclay.dk/1_Tutlinks/tutlinks_US.htm is a very organised and comprehensive list of links 

http://beadyeyedbrat.com/polymerclay.html has a whole host of links both under 'Our Clay Tutorials' and 'Tutorial links' again they are well organised and comprehensive.

Not forgetting of course the wonderful http://www.polymerclaycentral.com/ . That link will take you to the master index of projects but there is a whole host of other things that are great about PCC - if you haven't been to the forum yet you should!

Monday, May 17, 2010

Textured Beads, mini tutorial

I have been admiring peoples textured beads for some time and wanted to make some of my own. I tried rolling beads on some rough sandpaper but there wasn't enough texture and I kept rolling the texture I made off and getting bits of sand on my beads - not good. I asked for help from some more experienced clayers - on PCC forum and I also emailed some people direct who had photos of textured beads on flickr. Many people were very generous sharing their techniques - I love the polymer clay world!

Bettina suggested rolling beads between two pieces of rough sandpaper in your palms but I wasn't happy with my sandpaper. I will try that when I have some coarser, clean sandpaper.


The suggestion I am currently using is from Ayelet (you may remember I reviewed her Ayelet Beads tutorial sometime back). I have prepared a mini tutorial for you (although I am sure you could all work it out without the pictures, I had the camera handy). Enjoy!


You will need a ball of clay, a fine grater (this is a nutmeg grater) and a piercing tool (I have a needle tool)

Roll the ball around on the grater

Check it for bald spots, reapply to the grater starting in this spot

Pierce the ball and reroll on the grater to rough up any smooth spots you made whilst piercing (I texture before piercing so it is textured all over or you wouldn't have texture right up to the holes)

I was going to get another flat grater as it would be easier to roll the beads on it but then realised the curve allows you to touch up the top and bottom of the bead whilst on the needle tool.
The finished (nutmeg grater) textured bead.

Thursday, April 1, 2010

Clayworks by Kim Detmers Tutorial

Kim Detmers has kindly shared a tutorial on her blog of how to make this lovely Spring Bouquet. Check it out here http://claybykim.blogspot.com/p/tutorial.html

Tuesday, March 16, 2010

Playing with the extruder - square sticks

I have been playing a lot with  polymer clay recently, trying out new things.
I thought I would share some of them with you, here's the first...

Square sticks

I didn't quite take the right pictures so you will have to piece it together a bit yourself.

I put some sticks of polymer clay in the extruder barrel instead of the usual discs to see what would happen. As you can see I was just playing around and not taking my time to be neat. I would cut them into neater square cross section sticks of even size in future. On the right are 2 bits of the extrusion you get with a triangle pattern.

Here is a shot I took for my reference. I used square sticks in the barrel and the square extruder die and I got out the square diamond patterns. Here you can see what they looked like put together. There are 16 of the extrusions in that pattern piece. I put 4 together to make a larger square and reduce it, then cut and restacked into the slice shown.


I guess if you rotated the square extruder die in relation to the square sticks you would get a quarters pattern.

(just playing about with the e-pen I am trying out hence the sketch - I drew it on paper with the e-pen which also captures it as a jpeg)


You could of course just cut square or triangular  pieces of polymer clay and put them together to make this but it might just start you of on an experimentation with the extruder of your own.

Wednesday, March 10, 2010

Kato extruder beads

I just realised that although there is a fair amount of talk on flickr and in the comments about these brown Kato Extruder beads I haven't actually posted a picture of them here. I know you have seen the necklace which uses a disc pendant and some smaller beads using this technique but here are the beads I made first. I am writing the tutorial as we speak! It'll be here soon.

Monday, March 1, 2010

Tutorials from Parole de pate

Having been off my feet recovering from surgery for quite some time last year and now again  I have probably had more hours than most people to trawl round the internet. There is an amazing amount of information and inspiration for polymer clay artists out there. I am sure you all have your favourite blogs and sources of information (feel free to post a link in the comments to any of your favourites as I may have missed some).

I wanted to share a few blogs that aren't in English with you as it took me a while to come across them and then I was put off initally by the language problem - my French is rather rusty and not that technical anyway. Then I discovered Google Translate! To start with I loaded the web link into the google translate page everytime but then I found the translate button. If you scroll down to the bottom of this linked page you can find a button you can drag to your tool bar for your language. I now have the English one on mine and if I find a site that is in a different language I press the button and it translates it (often rather ammusingly but you can get the gist - cane is translated as duck in French by google )

So check out the French blog   http://paroledepate.canalblog.com/  It is described as a 'living newspaper' of all things polymer clay. There are plenty of tutorials on this site, from artists around the globe.
In the Canes tutos archieve there are 7 pages, yes 7 pages!, of different tutorials of all sorts of canes.Polymer clay addict heaven!
They have even kindly translated some into English and these can be found on the translation__traduction page
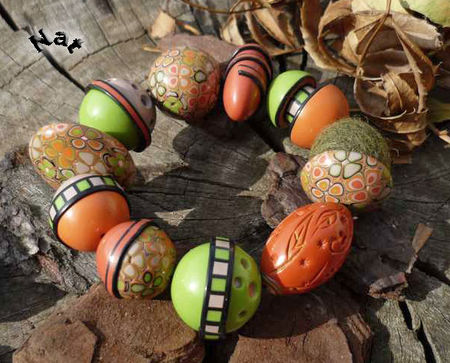
The first tutorial on that page is from Nathalie is to make these beautiful extruder flowers  as seen in some of these beads above. I have very briefly tried this with a few bits of scrap clay but without the Core Adapter as I don't have one, I replaced it with a disc with 7 holes in as shown by  Galina in her Russian Blog (again that google translate came in handy!) Here is my first attempt.
 
Need a bit more contrast next time but they were the colours I had out at the time


Cindy Leitz has a video which shows this technique as part of her members video library - Extruder flowers video information

Sunday, February 28, 2010

Polymer clay cane tutorials put to the test

I have found and used lots of free polymer clay cane tutorials on the internet, thank you to all those clever people out there who share their knowledge.

For a while I have come across tutorials that you have to buy and I have always wondered if it would be worth it. Well one day I decided I would splash out and give them a go. I have been delighted with the canes I have made and I hope I can now take what I have learned from these talented artists into some amazing creations of my own.

The main difference between these tutorials and the ones people share freely is the level of detail. They are complex canes and there are many pages of photographs to make sure you can follow them easily.

I have bought 3 now and love them all.


They are all in PDF format and arrive by email. Here are some of the canes I have made.

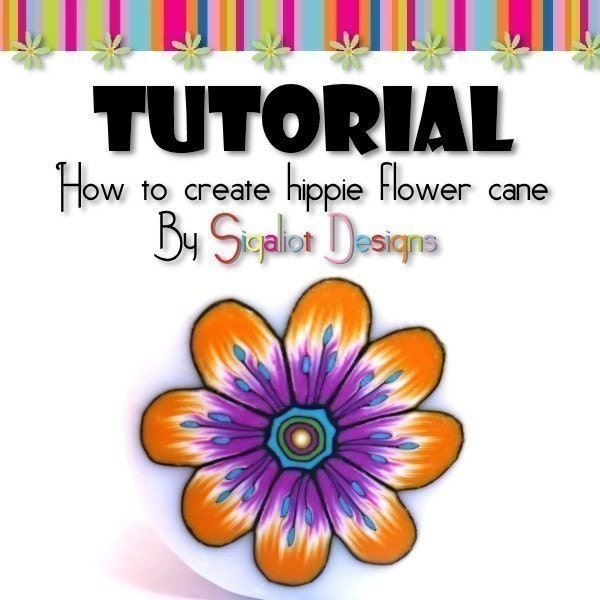
Hippy Flower Cane Tutorial from Sigaliot Designs 

The tutorial was from Sigaliot's Designs Etsy  and cost $12. It arrived in my mail box very quickly and I couldn't wait to try it out.  It was well worth the money and I hope she makes some more tutorials soon! This is my personal favourite tutorial.


I made this cane in Kato clay. The detail is beautiful. I kept the centre more simple than Sagit suggested as I only had limited clay colours available and no time to mix. She has really taken time over the tutorial and set it out beautifully.  It was very clear with plenty of photographs. It was easy to follow and produced good results. Sagit details the colours she used on the cane  (she uses Fimo) in the tutorial and gives a recipe for a custom orange she used. She also shows the cane made in a different colour scheme and details the colours she used for that too. Sagit thoughtfully details all the steps in her tutorial including the skinner blend and includes a template with measurements for a 3 colour blend. I am sure if you used her colours you could make a cane identical to the one in the pictures. She also shows some pillow beads made with this cane which was nice to see. No special tools are needed (assuming you have a pasta machine - it is possible without of course but...)

I love her work Sagit uses such bright and cheerful colours and seems to be a real perfectionist. I don't normally even think of  buying other peoples polymer clay things - normally I think oh I'll have a go at making something similar - but I am quite tempted to buy some of her beads, they look amazing and so well finished. I am not sure I will ever have the patience for all that hand sanding etc. Check out her blog

I've said it before but I just want to emphasise what a beautiful tutorial this is to look at. It doesn't effect the result but it is such a pleasure to read it becuase it looks so nice.


Flower with curling petals cane tutorial from Zuleykha
The tutorial was from Zuleykha's Etsy  and cost $10. It arrived in my mail box very quickly and I couldn't wait to try this one  out either (I am not the most patient of people).  It was well worth the money as it's quite a different effect for a flower cane and I look forward to seeing some more tutorials from her, in fact I hope she writes a tutorial for her flower bracelets. This is a great tutorial!


The tutorial is well set out and has plenty of photographs. It is easy to follow and produced good results as you can see. I made this cane in fimo soft clay. She doesn't give details of the colours she used for the cane illustrated but does show the cane produced in 4 different colour schemes which was good for some inspiration. She didn't give a template for her 3 colour blend but there was a clear photograph and my blend worked out well. Zuleykha assumes you know how to do a skinner blend which is probably a fair assumption. She doesn't use any special tools (again assuming you have a pasta machine).

You can see some more of Zuleykha's work at her blog here. Her work is beautiful and I hope to be able to make things like that one day too! Zuleykha has lots of lovely things for sale in her Etsy store. I do particularly love her flower bracelets like this one.


Update - Zuleykha has a tutorial for beads like this on her blog here. Not having done much beading I think I would need some helping putting them together into a bracelet as beautifully as she does.
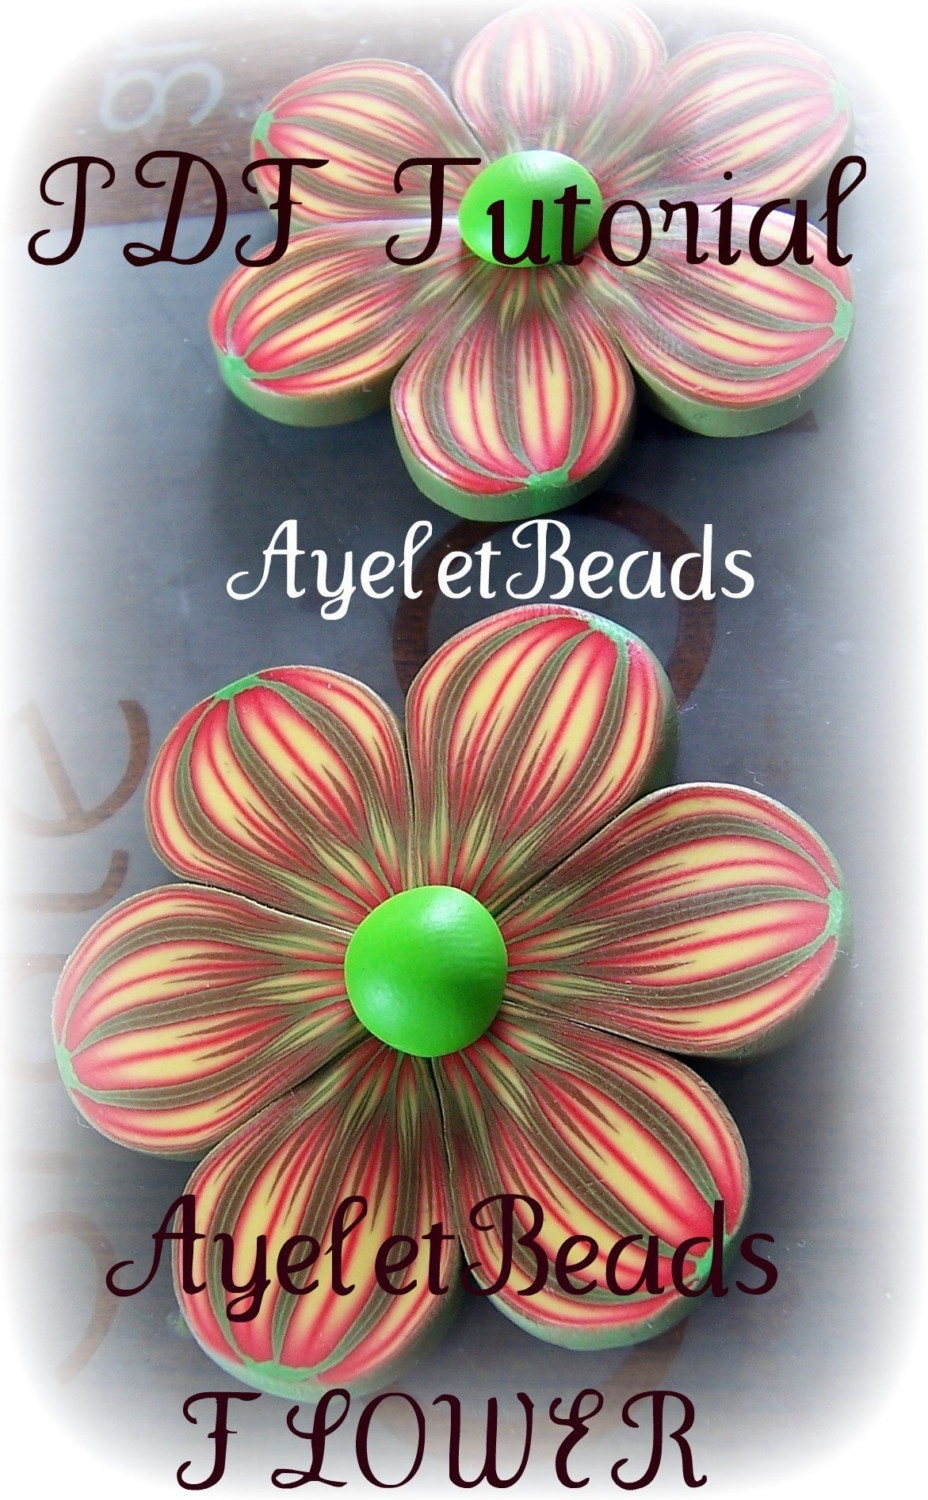
 Ayelet beads tutorial
The tutorial was from Ayelet beads Etsy  and cost $7. There was a slight technical hitch at my end (mail box full - they are large files) recieving the email but Ayelet was very friendly and helpful.  It was the cheapest tutorial and it was $7 well spent.  When I first came across these Ayelet flowers on Flickr I thought they were amazing and wondered how on Earth she made them. I was delighted to find her tutorial and now I can make my own! It is an amazingly detailed bead and works well as a pendant on it's own so I am wearing this one already. The others are waiting to be turned into a necklace (I am not so keen on the putting it all together bit I realise). I love this tutorial and have had some great comments about this necklace.


This tutorial has plenty of clear photographs. It is detailled and enables you to produce your own amazing ayelet flower beads easily. This was my first attempt and I can't wait to try some different colours. Ayelet doesn't detail the colours she uses and only shows one colour scheme in her tutorial although you can see plenty of her flower beads on her Flickr . She shows a necklace made with her finished beads in her tutorial which is good inspiration. You don't need any specialist tools for this either with the exception of the pasta machine as always.

Ayelet also extremely kindly shares some free tutorials on Flickr that you can find here. She is a talented lady! 


I am glad I bought these tutorials they have helped me to make some beautiful canes and I have picked up some tips that have help me to develop as an artist. The price of the tutorials perhaps reflects how long it took these talented ladies to make them. The more expensive ones being set out and decorated better but they all have clear instructions that are easy to follow.